be gone! Ha.. do you all remember that saying from like 8th grade? Ahh.. memories...
Anywho you guys are not going to believe what a little seamstress I have become! I mean I said at the beginning of this little blog that things could get crazy here with me and my sewing machine but I have to tell you I didn't really believe it.. until now...
This girl (me) made a poof!!! What the heck is a poof you ask? Well my friend, a poof is a pillow type thing that you sit on. I found this blog last week called Living with Punks and she had the most amazing tutorial for Floor Cushions. Here is one of her pics.. dont get too excited--- mine doesn't look quite this perfect.

Amazing right? I decided they were so stinkin' cute that I had to try one myself.. I mean I HAVE a sewing machine.. how hard could it be? Well people let me tell you--- sewing is hard! It actually hurts your head- no joke. If you decide to give it a go I would highly suggest following her tutorial-not the randomness I am about to spew out.
So let me walk you through my process... I went to the fabric store and decided that even though I don't have any kids yet I wanted to make a cute "kid-ish" floor pillow for my basement... since I am going to have a little play area down there for my niece and nephew and my friends kids. SO... cute was the theme. I looked for like 45 minutes and landed on what I thought at the time was the cutest owl themed fabric. I NOW think it is the most hideous fabric that looks like odd skeleton owls...


 |
| look at me sewing:) |
2 of the 17" circles (top and bottom)
1 piece cut at 9"x51.5" (side) **you will have to piece this together if your fabric is 45"**
2 pieces cut at 3" x 12" (handle)
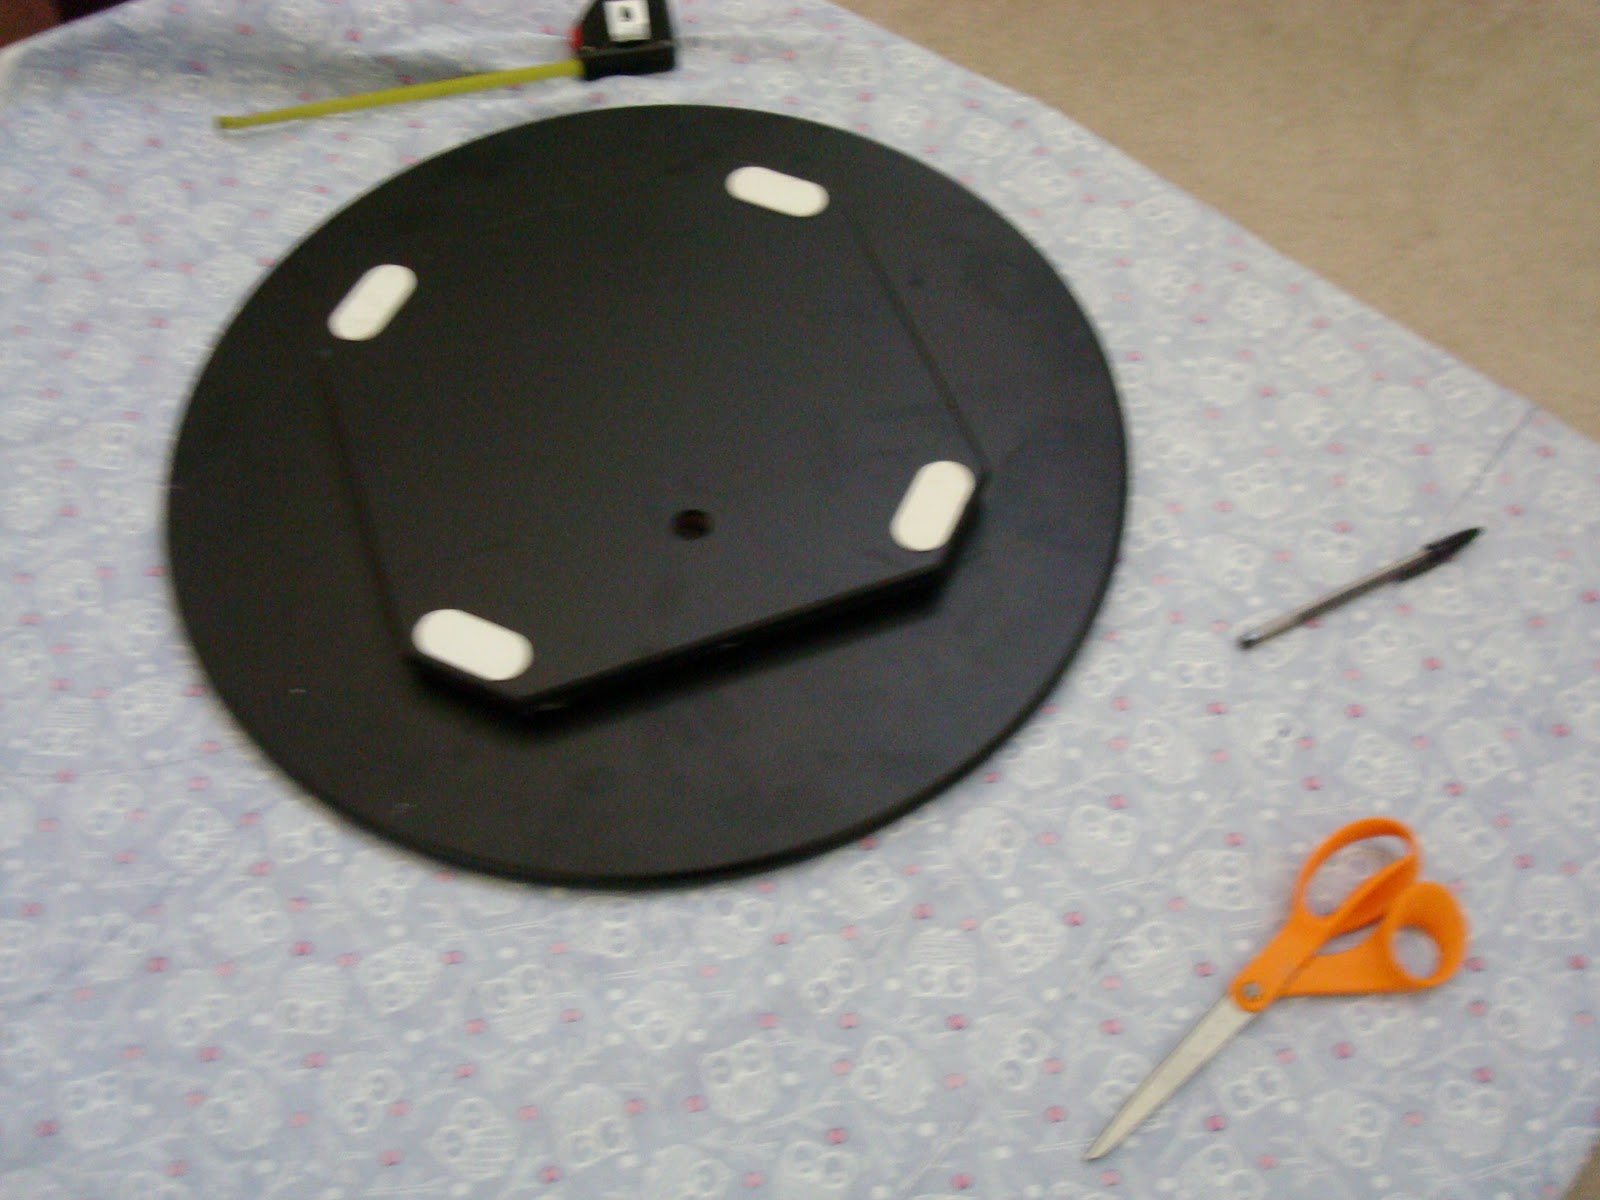
I searched my house high and low for ANYTHING in the shape of a circle... and you know what I discovered? I live in a circle-less home! I FINALLY found this lazy susan thing that was 20inches instead of 17 inches so I figured I would just make my poof a little larger. So I started to trace two identical circles and cut them out along with the other pieces mentioned above.
 |
| Here they are... ready to go! |

 |
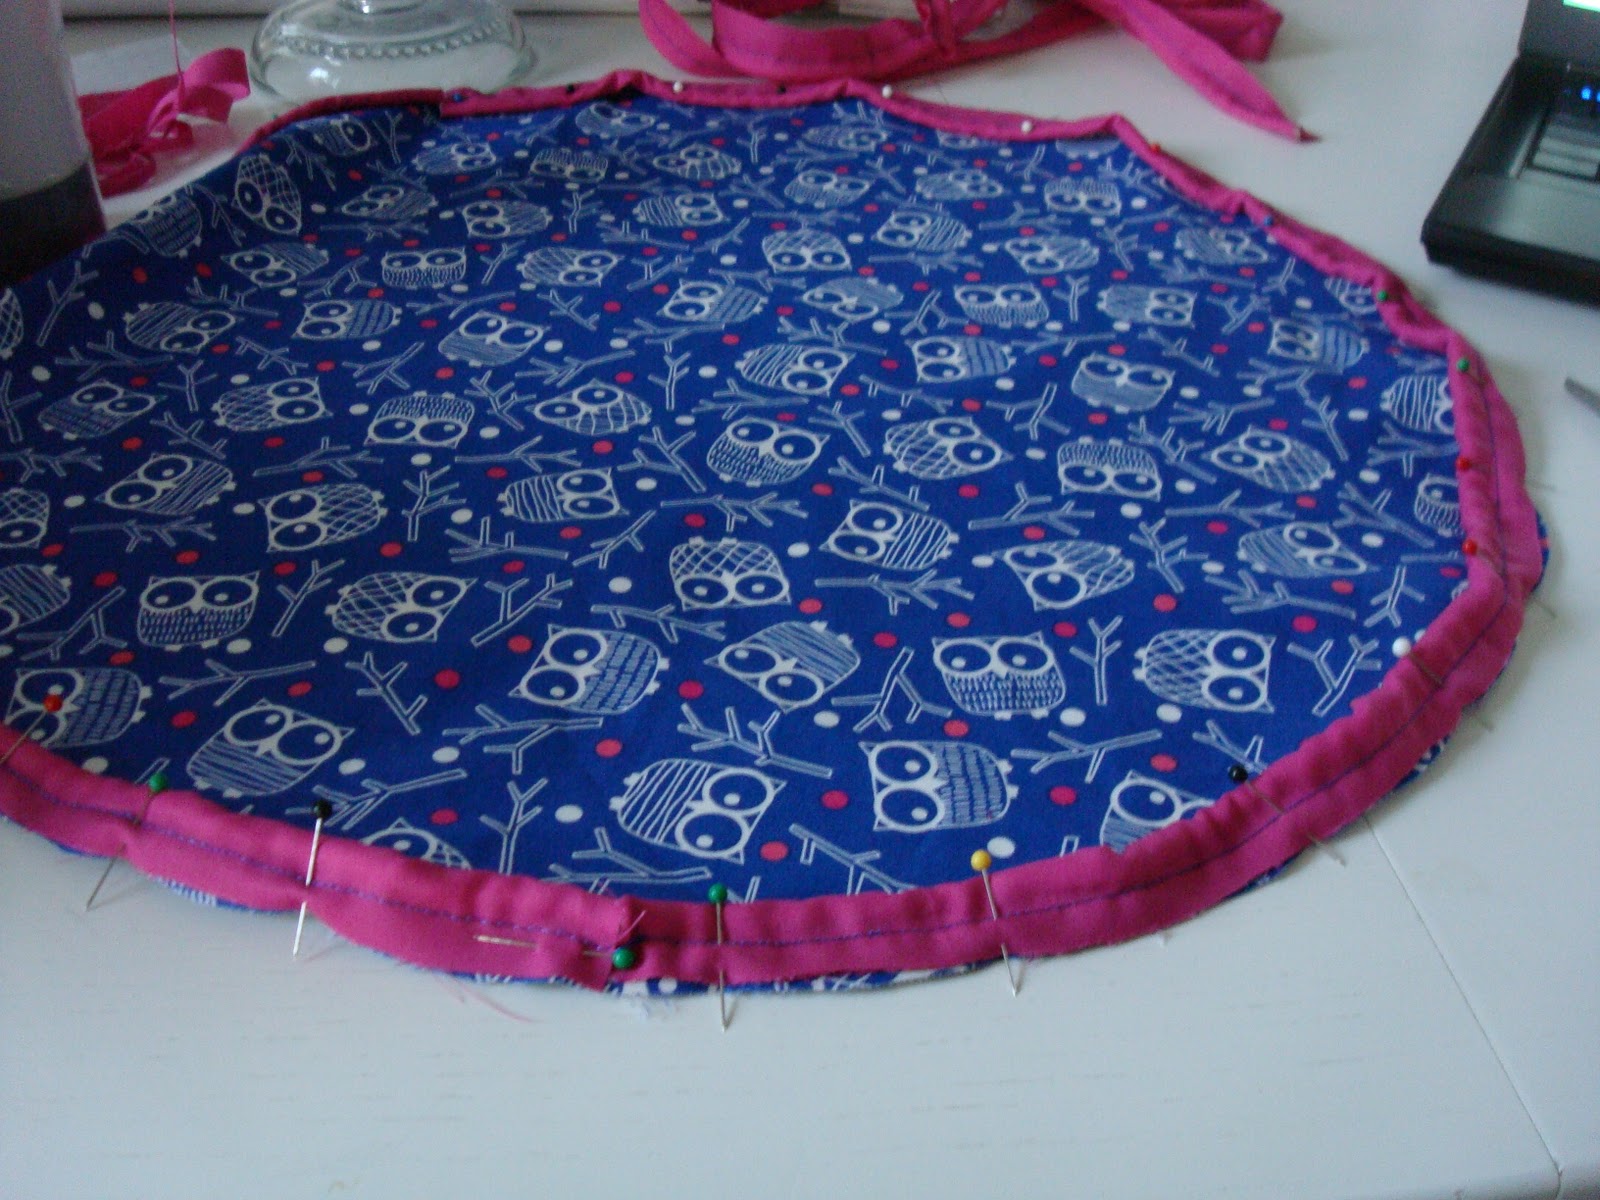
| TA-DA! All pinned and ready to go! |

Then once all my cording was secured I took the LONG piece of remaining fabric and pinned it around one of the circles like so:


Then I sewed this new piece onto the circle and once my piece was fully attached I flipped the fabric right-side-out and picked a location for my nifty handle. I sewed a small square and "x" to each side of the handle to secure it in place. The I flipped it back inside out and pinned the FINAL top piece onto my current piece... this is when I realized the END IS IN SIGHT!!!

 |
| Here I am pinning the top piece to the bottom piece. I sewed the pieces together leaving a 4-5 inch hold so that I could stuff it with fluff! |
 |
| Right side out! Looking good! |
 |
| Stuffing away! I used three bags of this stuff. |
TA-DA!!!! She's done (and lovely I might add:))


I hope you all are impressed as I am! I think this thing is uber cute (well... it *would* be uber cute if it wasn't the land of the dead owls but you know what I mean!). Now don't get me wrong... this little ball of fluff is covered in some MAJOR imperfections, but for my first go at a puff I am pretty pleased. Anyone who would like to come over and take her for a spin (or sit) is more than welcome!
Carolyn
Carolyn, I LOVE these!!! Great job! I have a feeling Penny will be getting one at some point this year.
ReplyDeleteThanks Sara! You will have to show me yours once you make it!
ReplyDeleteCarolyn, You are so talented!!!!!!!!!!!!! I need to have a tutoring session with you. So impressed! :) Love You, Chrissy
ReplyDeleteSo cute!
ReplyDeleteThanks! AND Chrissy--- you know you could whip one of these up in no time!
ReplyDeleteWow....love it! I need to get around to making one! One of these days!
ReplyDeleteYou make me laugh! I was like cracking up through the entire blog. I think we need to bring back "Poof, be gone!" It is way to funny to die with the nineties.
ReplyDeleteVery cute poof-pillow.
Poof, I'm gone! =P
Love it Carolyn!!! Such a great idea. And btw- I LOVE the skeleton-owl fabric :)
ReplyDelete